
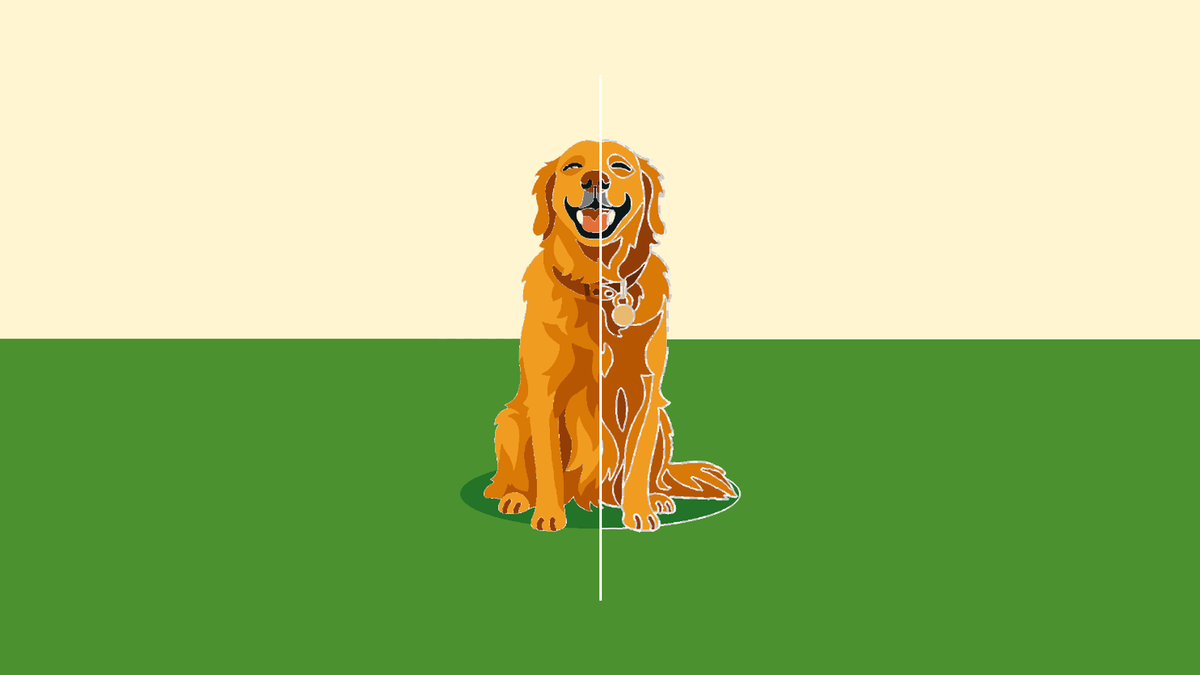
Once your design is separated into yarn colours, the next question is what happens where two of them meet.
On screen they share an edge. Yarn can't share an edge — it has width. So between every two colours there has to be a strip of bare cloth, and how wide that strip is decides two things: whether the colours stay readable on the finished piece, and how much trimming it takes to get them there.
Tufting by hand, you judge that strip by eye. You leave a bit of space, tuft up to it, and adjust as you go. In Craftphilia Studio you set it once, as a number, and it's held identically at every boundary in the design. That number is erosion.
There's no universal value for it. What you're aiming for is the right erosion for each colour area — enough to keep colours apart, little enough that small details survive. Both come out of the same setting, and they pull in opposite directions. Get the balance right and what comes off the frame is clean, sharp and needs very little correcting.
Everything here works without a machine — Craftphilia Studio is free for anyone who tufts.
What erosion does
Before Studio generates any paths, each colour area is pulled back from its neighbours by the amount you set.
The value is per colour, so the gap between two colours is twice what you type. Set 2 mm and each of the two areas gives up 2 mm, leaving 4 mm of cloth between them.
The lowest you can go is 1 mm per layer, so the smallest possible gap is 2 mm. Erosion moves in whole millimetres because Studio works in real units: once your design is set to its tufting size, one pixel in Colour Layering equals one millimetre on the cloth — a design sized 650 × 1050 mm is 650 × 1050 px in the panel. Each step of erosion pulls an area back by exactly one of those.
Two demands on the same width
A rug is built from rows of yarn, and every row has a real width. That one fact creates both of the things erosion has to satisfy.
- Clean colours need a gap. Yarn blooms — it opens up on the face after tufting. Without enough gap, two colours meet on the surface, and separating them afterwards is the slowest part of finishing.
- Details need room. A shape that ends up narrower than a row of yarn can't be tufted at all.
And the gap is taken out of the colour areas themselves, from both sides. Every millimetre you give to the boundary is a millimetre the shape no longer has. On a large piece there's enough width that neither demand notices the other. On a small piece, the smallest shapes run out first.
The working range
Erosion isn't a free number. Both ends of its range are real:
- Too small, and the bloom closes the gap. The colours meet on the face and you separate them by hand afterwards.
- Too large, and a small area with both sides pulled back has nothing left to put a row in. The shape disappears from the path.
Two things set that range:
- How far your yarn spreads sets the lower end. The more it opens up on the face, the more cloth two colours need between them.
- Your tufting size sets the upper end. The smaller you tuft, the less you can afford to take from each shape.
Which is why a value that works on one piece can fail on another. Same yarn, same setting, smaller rug: the shapes got smaller and the gap didn't.
One design, two sizes
Our golden retriever is a busy design. At 700 × 1050 mm it holds together at tolerance 20 and 2 mm of erosion, with nothing to fix. At 300 × 450 mm, the same image at the same settings comes apart:
| Tolerance | Erosion | Result |
|---|---|---|
| 20 | 2 mm | The body breaks into pieces; the face goes blank |
| 40 | 2 mm | The body is solid again; the face is still blank |
| 40 | 2 mm, face at 1 mm | The face comes back |
Nothing changed but the size, and it took two different fixes to bring the design back. What ran out was width across the shapes.
When one value isn't enough
The two fixes work on different sides of the problem.
Give the shape more width to start with. That's colour tolerance, settled before erosion: merging colours that are close to each other turns scattered fragments into fewer, larger areas. At 300 mm, that brought the body back — but it never brought the face back.
Or take less off that shape. Erosion applies to every colour area, but not necessarily at the same value: any layer can be given its own, down to 1 mm. The face was too narrow to keep anything once both sides were pulled back at 2 mm, so it needed its own lower value.
That's the whole principle: large areas get the gap they need to stay clean, small details get the width they need to survive. One design, several erosion values, each matched to the area it's applied to.
Setting erosion per layer
In the Colour Layering panel, the eye icon next to each layer decides whether that layer takes part in the next Execute. A layer switched off keeps whatever value it had when you switched it off — which is how you give small shapes less erosion than everything else, in one pass:
- Set the slider to the low value you want your detail layers to keep — 1 mm, say.
- Switch off the eye on each of those detail layers.
- Move the slider up to the value for the rest of the design.
- Execute. The layers taking part are pulled back at the higher value; the ones switched off hold the lower one.
- Switch every eye back on.
Don't skip that last step. A layer that's still switched off when you export to the workspace has no scanlines, and that colour comes out empty on the finished piece.
Check it at the size you'll tuft
None of this can be judged at screen detail. Set your design to its real size in millimetres, turn on Path Preview, and look at each colour area with two questions:
- Can it still be told apart from its neighbour? There should be visible cloth between the two paths.
- Does the shape still have a path? An outline on its own is fine, and so is a single line, as long as it follows the turns of the shape.
A detail is gone when its path shrinks to a dot, disappears into the blank space between colours, or runs into the next area so the two can't be separated.
If something's lost: lower erosion on that layer, raise tolerance so the area merges into a larger one, or draw the path in by hand — then look again. When every area passes both questions, the preview is the piece you'll get.
The workflow in one list
- Separate the design and settle the tolerance first, so you know how many areas you're working with.
- Set the slider to your detail value and switch off the eye on each detail layer.
- Raise the slider to the value for the rest of the design, then Execute.
- Switch every eye back on before you export to the workspace.
- Set the real tufting size and open Path Preview.
- Check every area: apart from its neighbours, and still holding its shape.
Free for everyone who tufts
Erosion, colour tolerance and Path Preview are all part of Craftphilia Studio, and Studio is free — not a trial, not tied to a purchase.
That's deliberate. Deciding how much room to leave between colours is a problem every tufter has, whatever is doing the tufting. With a hand-held gun, you can set your gaps in Studio, check them at real size, then project the result onto your cloth and trace it. With a Craftphilia machine, the same gap is held at every boundary automatically.
Either way, the decision is the same one: the right gap for each colour, so colours stay apart and details survive.
Frequently asked questions
What erosion value should I use?
There isn't one number that fits every piece. A yarn that blooms wider needs more cloth between colours, and the same value behaves differently on a large piece and a small one. Start with a value for the design as a whole, give small detail layers a lower one, and confirm it all in Path Preview at the size you'll tuft.
Can different colours have different erosion?
Yes. Set the slider low, switch off the eye on the layers you want to keep at that value, raise the slider, then Execute — the layers switched off hold the lower value. Detail layers can go down to 1 mm while everything else stays higher. Remember to switch every eye back on before exporting.
Why did a small detail disappear?
Both sides of it were pulled back until nothing was left to put a row of yarn in. Lower erosion on that layer, merge it into a neighbouring colour with tolerance, or add the path by hand.
The colours still meet on the front. What went wrong?
Some bloom is normal — colour boundaries are sharpened when you carve. If colours run together far enough to lose the line, the gap was too small for the yarn you're using: raise erosion on those layers and check again at your real size.
Why does one colour come out empty after exporting?
That layer was still switched off when you exported to the workspace. A switched-off layer has no scanlines. Switch every eye back on, then export again.
Do I need a Craftphilia machine to use erosion?
No. Colour separation, erosion and Path Preview all work with no machine connected. With a tufting gun, set your gaps in Studio, check them at real size, and project the result onto your cloth to trace. The machine's advantage is holding that gap at every boundary — traced by hand, the line is drawn for you, but how close you tuft to it is still down to your hand.
Share:
Colour Tolerance in Craftphilia Studio: How to Make the Preview Match the Rug