
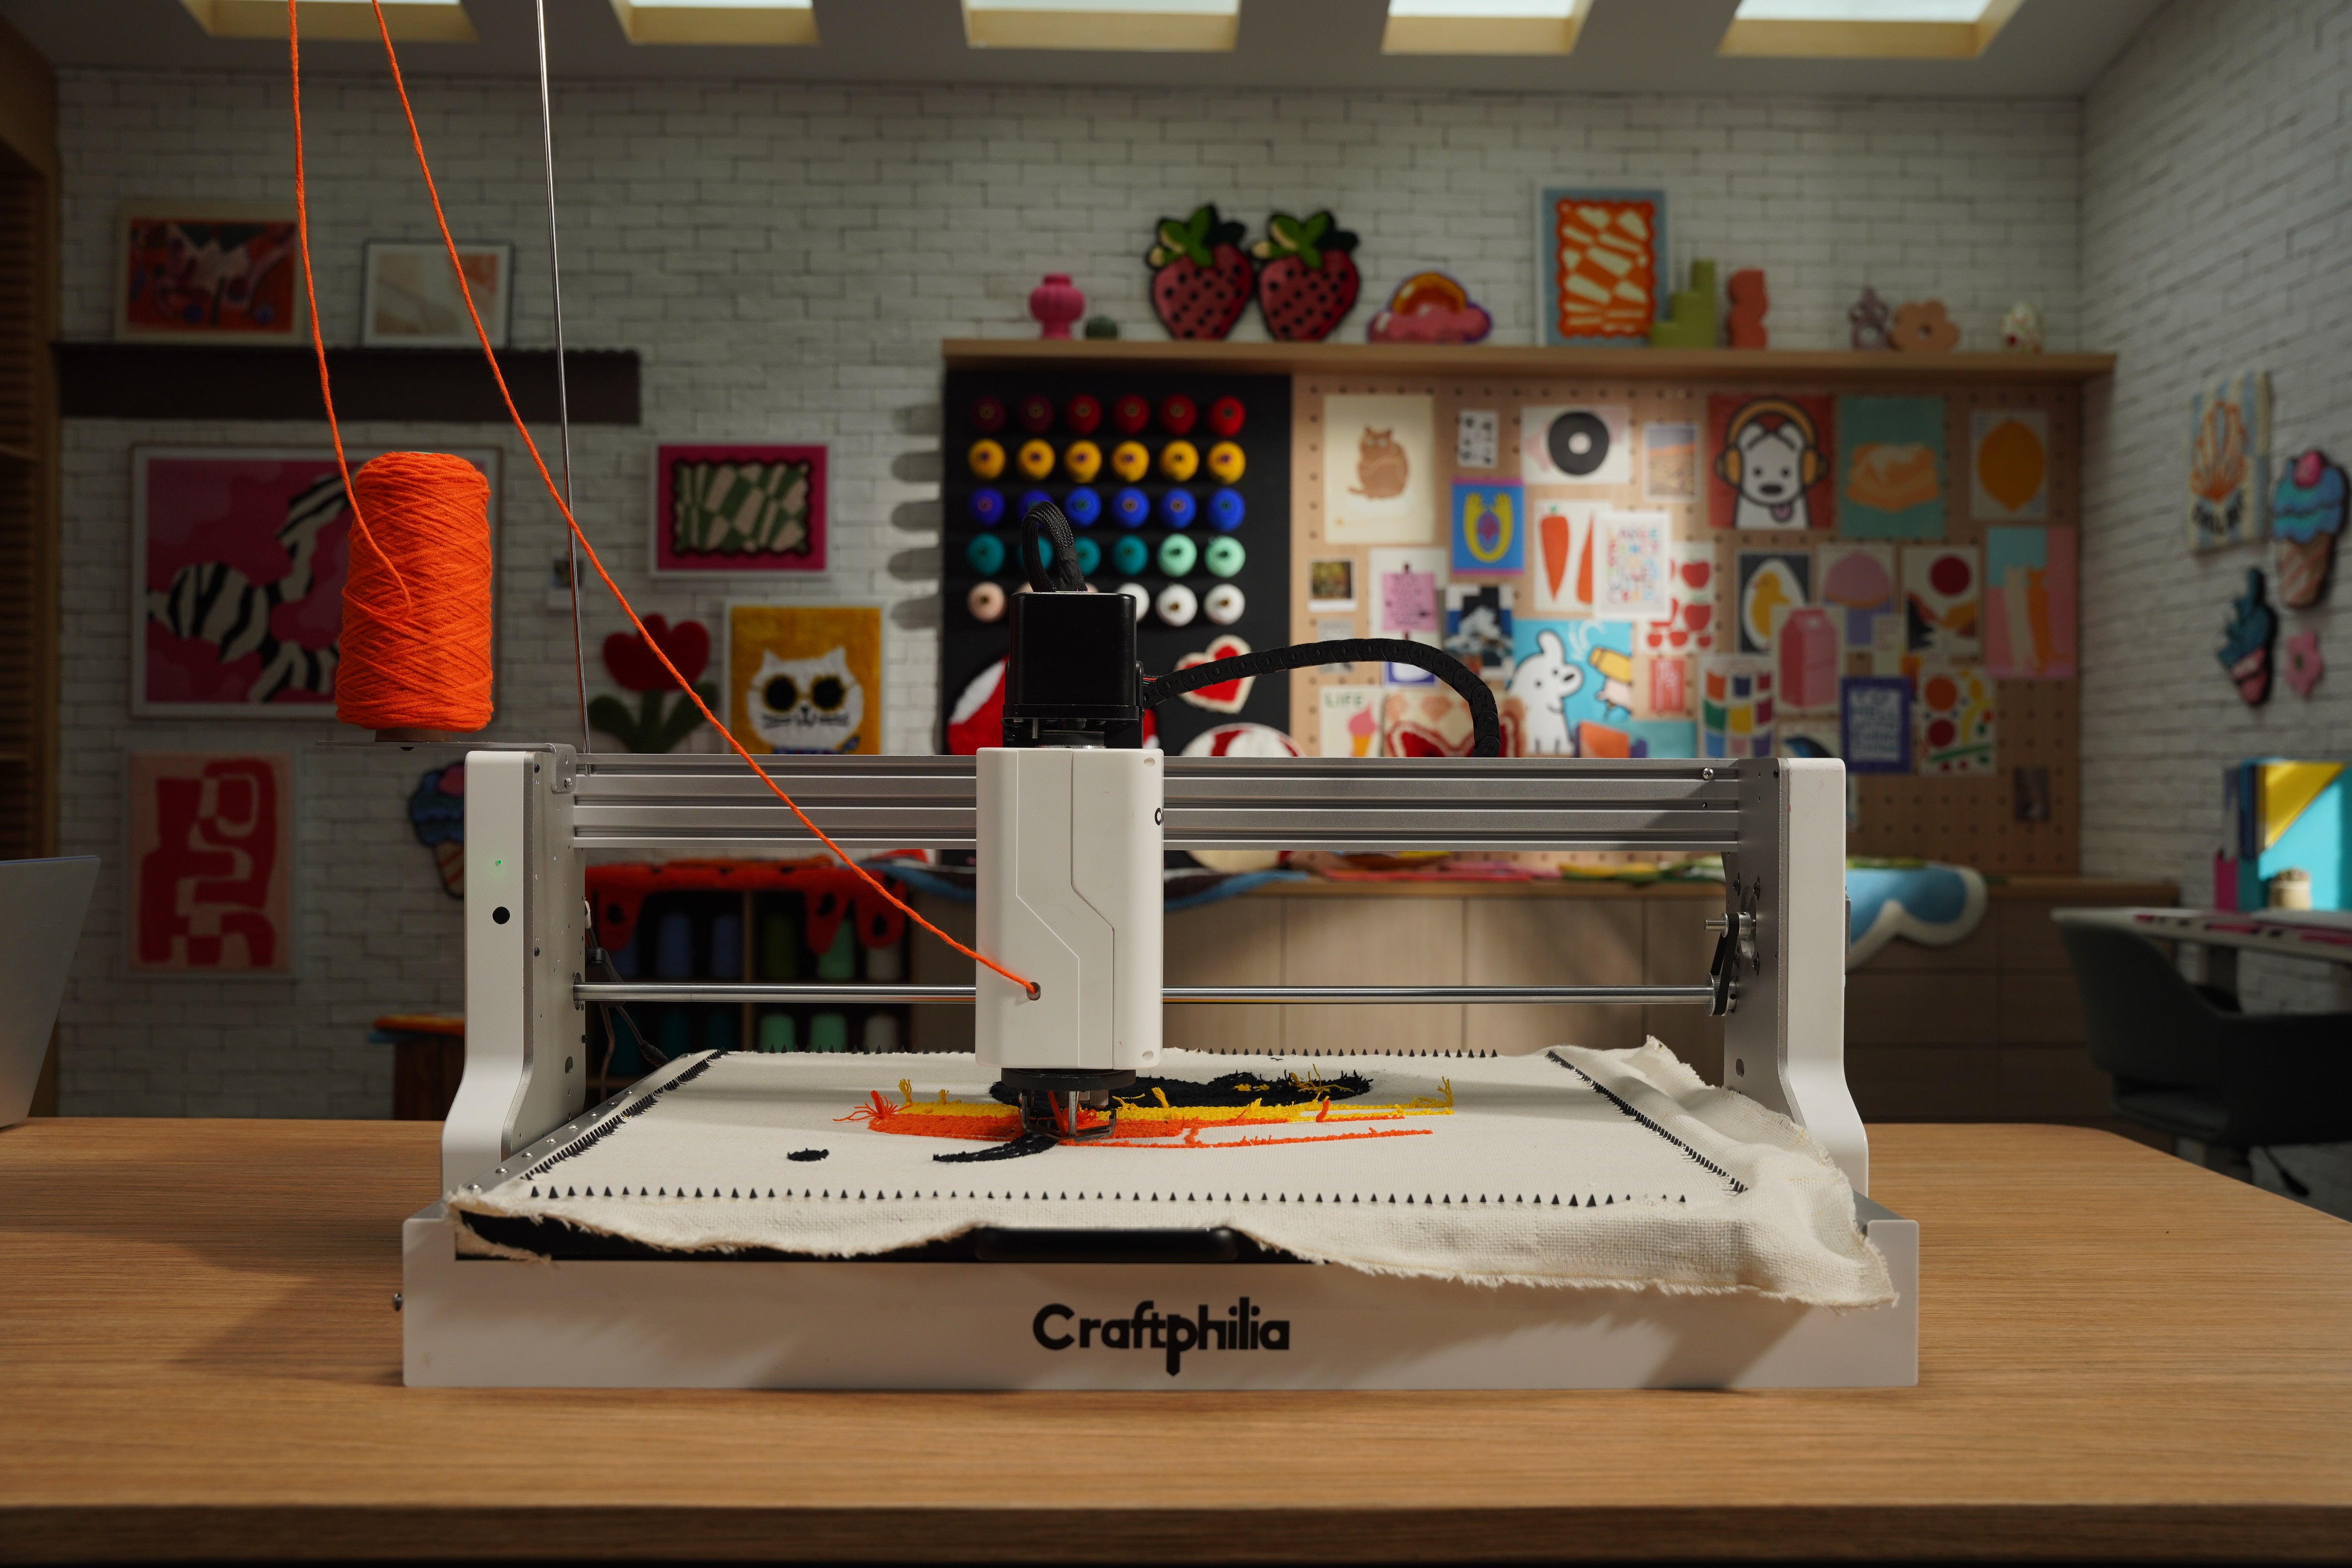
The last stitch goes in, you step back, and it looks finished.
It isn't. What you're looking at is yarn sitting loose in a piece of cloth. Pull one strand and you'll see how loose.
What comes next is rug finishing: glue, a day of waiting, then trimming and carving. It's roughly half the job, and it's the half that decides whether your rug reads as handmade or homemade. It's also the half nobody mentions until you're standing in front of a finished-looking piece wondering what to do with it.
Here's the whole process, start to finish.
What you need to finish a tufted rug
Setting aside the tufting itself, finishing needs surprisingly little:
- Rug glue — latex for floor pieces, PVA or white glue for wall pieces
- A putty knife, brush or roller — depending on how thick your adhesive is
- Backing fabric — cotton-polyester, felt, or felt-and-rubber non-slip
- Spray adhesive and a hot glue gun — for the hem and the backing layer
- An electric trimmer and a pair of sharp scissors — one for levelling, one for detail
Before you finish: a note on the tufting stage
Two things you do while tufting decide how the finishing goes.
Stretch the cloth properly. Whether you're using a tufting gun or an automated machine, the fabric needs to be drum-tight on the frame before the first stitch. Slack cloth distorts the design and makes every step after it harder. (Not sure which route to take? We compared tufting guns and automated machines here.)
Leave a margin. Tuft your design with a clear border of untufted cloth around it. You'll need that margin twice — once for glue, once for the hem — and you can't add it later.
The four steps of finishing
1. Glue — while it's still on the frame
Tension is what holds the shape while the adhesive sets. A piece cut off the frame early curls at the edges, and it stays curled.
- Work the glue down into the roots of the yarn rather than spreading it across the top. A putty knife for thick latex, a brush or roller if yours spreads thin.
- Carry it 3–5 cm past the outline of your design — this is what that margin was for.
- Latex for anything that ends up on a floor or a body, since it stays flexible. PVA or white glue for wall pieces, where drying stiff is exactly what you want.
2. Dry — longer than you'd like
Most makers say 24 hours. Some say four is enough. Temperature, humidity and glue type all move the number.
A full day is the safer call, because the failure here is delayed. A rug cut off early doesn't come apart that afternoon — it sheds three months later, on somebody's floor.
Once it's fully cured, cut the piece off the frame leaving 2–5 cm of cloth all the way around. That strip is your hem. Cut flush and there's nothing to fold.
3. Backing — depending on where it ends up
Wall art needs almost none of this: gluing it to a board or stretching it over a frame is the whole job.
For a rug that goes on a floor:
- Fold the margin to the back and hold it with a hot glue gun. On curves, notching the margin every 5 cm keeps it from bunching. At the corners, folding beats cutting.
- Spray adhesive on both faces, lay the backing fabric down, and press from the centre outward. Use enough pressure that the adhesive just barely shows through — any more and it comes through to the front.
- Choose the backing for the job. Woven cotton-polyester hides dirt. Recycled felt holds its shape under wear. Felt-and-rubber non-slip is the one that makes sense on a hard floor — spray adhesive alone isn't built for feet.
4. Trimming and carving — where it stops looking like a craft project
This runs in two passes, and they do different jobs.
Levelling. Run the trimmer flat across the whole surface to bring the pile to one height. Don't do detail work here — the second pass would undo it.
Refining. Scissors for outlines, corners and tight spots. A little at a time: more can always come off, none of it goes back on.

Then the move that makes a rug read as sharp rather than fuzzy. Where two colours meet, tilt the clippers to about 45 degrees and cut a V-shaped channel down toward the line, shaving the top and sides of the pile without going down to the base cloth.
What your eye reads as a clean edge isn't the yarn. It's the shadow sitting in that groove.
How long does finishing take?
| Stage | Small rug | Can it be sped up? |
|---|---|---|
| Tufting | 1 – 2 hours | Yes — this is what an automated machine changes |
| Glue | 15 – 30 minutes | Not meaningfully |
| Curing | Up to 24 hours | No — it happens on its own schedule |
| Cutting, hemming, backing | 30 – 60 minutes | Partly |
| Trimming and carving | 1 – 2 hours | This is the craft — and most makers want to keep it |
Automating the tufting changes the first number and nothing else. Curing isn't a work step — it happens whether you're in the room or not. And the carving is still you, a pair of clippers, and a lot of small decisions.
Which is rather the point. Automation doesn't change what you made. It takes the part that didn't need you and leaves the part that did.
Frequently asked questions
Can I fix mistakes once the glue is on?
Not really. Loose stitches pull out easily beforehand, but once the latex cures it's holding everything in place — pull one and you'll take the neighbouring rows with it. Do your checking while the piece is still on the frame.
Why is my tufted rug shedding?
Almost always the glue step: either it didn't cure long enough before the rug came off the frame, or the adhesive sat on top of the yarn instead of being worked down into the roots. Edges shed first, so that's where to look.
Can I finish a rug with just scissors?
Yes, though the levelling pass is where you'll feel it. Sharp fabric scissors can even out a small piece, but holding a large one to a consistent height by hand is genuinely hard. The carving is fine either way — that pass is scissors work regardless.
Do I have to bind the edges?
No. A folded hem and a backing layer is a complete finish. Binding is for when you want the edge to read as deliberate — twill tape glued around the perimeter is the quick version, and plenty of rug shops will serge one for you if you want something more refined.
Does finishing differ between a tufting gun and an automated machine?
No. Finishing happens after the tufting, on the same cloth, with the same materials, whichever tool put the yarn there.

Share:
Can you use Craftphilia Studio if you don't own a Craftphilia machine?