
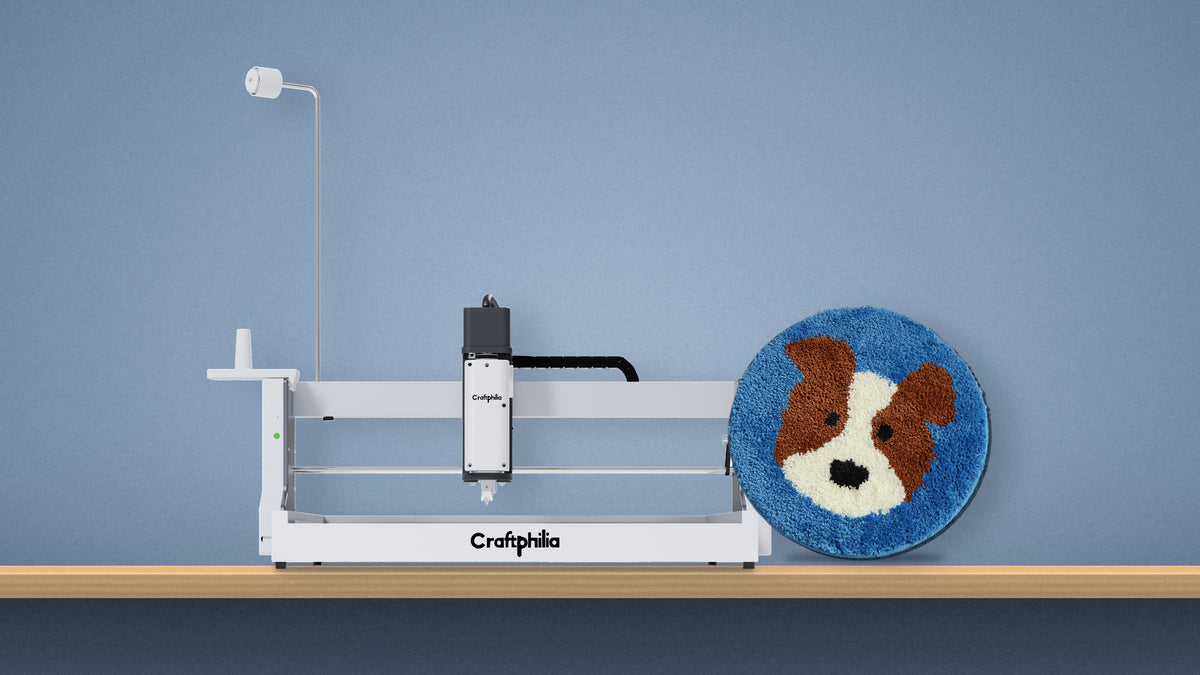
Making your first rug on an automated tufting machine comes down to six steps. You prepare a design, stretch cloth on the frame, let the machine tuft the yarn into it, glue the back, add a backing, and shear the pile into shape.
The machine changes where your hours go. The tufting in the middle stops needing your hands, and the work gathers at the two ends: the design before the first stitch, and the finishing after the last one. Those are also the parts that decide how the rug turns out.
What you need
From the box. The machine, its frame, the Dual Yarn Tray, tufting cloth, a starter pattern and yarn to match — enough to tuft your first piece. Craftphilia Studio, the software that turns an image into a tufting path, is a free download.
From home. A flat table that holds 37–51 lb without wobbling (about 33.5 × 28.3 inches of surface for a CF05, 41.3 × 36.2 inches for a CF07), and a Windows or macOS computer. Studio connects to the machine by USB or Wi-Fi.
For the finishing.
- To lock the yarn: rug glue (latex for anything that goes on a floor, PVA for wall pieces) and a putty knife, brush or roller to work it in
- To back it: backing fabric and spray adhesive
- To hem the edge: a hot glue gun
- To shear and carve: an electric trimmer and sharp scissors
For the next rug. More yarn and cloth. The machine takes 5 mm yarn in acrylic, wool or cotton — from us or anyone else — on a cone or spool with a hollow core. A fully tufted piece uses roughly 8–10 oz of yarn per square foot, so a 16 × 16 inch rug needs about a pound. Choosing yarn for tufting covers fiber and weight, and choosing tufting cloth covers the fabric.
Step 1: Prepare the design in Craftphilia Studio
A design that works on screen doesn't always work in yarn. Yarn ends are soft and they lean, so anything small or thin blurs once it's tufted. The smallest detail a rug can hold is set by the yarn, not by the tool. Every tufting tool runs into the same limit, and detail that's too small has nowhere to go.
So the design step is really one question: what will this image look like at the size you're making it, in yarn? Studio lets you answer it before a single stitch.
- Set the real size first. Bring the image in as a JPG, PNG or BMP. Type in the width or the height in millimeters, and let Studio work out the other side from the image's proportions. Everything after this is judged at that size: a detail that reads clearly at 27.6 inches can be a smudge at 12.
- Separate the colors. Studio splits the image into flat color areas, one yarn color each. The color tolerance setting decides how close two colors have to be before they merge: lower it and you keep more colors; raise it and similar shades fold together. Don't go by the number of layers — look at the result. A layer that shows up as a clean, continuous shape is part of your design; one that comes out as scattered specks is noise. If one color has been split in two, drag the pieces together to merge them. Color tolerance in Craftphilia Studio goes through it with examples.
- Leave room between colors. Erosion pulls each color area back slightly from its neighbors, so two colors don't run into each other once the yarn is in. Each area shrinks by the value you set, so the gap is twice that. Small areas can take a smaller value than the rest, down to 1 mm. Erosion in Craftphilia Studio explains how to set it.
- Check the path at real size. Turn on Path Preview and look at each color area. This is the line the needle will follow, and it shows you — before you tuft — whether the smallest details will make it. If they won't, make the rug bigger or the design simpler. Both cost nothing at this stage.
You don't need to flip anything. A tufted rug is made from the back of the cloth, so the finished front comes out reversed — and Studio mirrors the design for you automatically.
Step 2: Stretch the cloth and load the frame
The cloth has to be drum-tight before the first stitch. Slack cloth distorts the design and lets stitches fall out.
Stretch the tufting cloth over the frame so the pull is even on every side, then release the latches. The springs push two of the rails outward and pull the cloth tighter still. Now tap the center: it should sound like a drum and barely give. If one area feels softer than the rest, re-stretch that side before you go on.
The springs hold that tension through the whole run, so the cloth doesn't loosen halfway through a large design and you won't stop to re-tighten. On large, dense work that runs for hours, a steadier cloth like Craftphilia Premium Tufting Cloth holds its shape better.
Before the frame goes into the machine, check the margin: at least 2 inches of untufted cloth on every side of the design. The glue spreads into it in Step 4 and it becomes the hem in Step 5 — and there's no adding it once the yarn is in.
Step 3: Load the yarn and run the job
Put the first color on the Dual Yarn Tray. For a first piece, one cone is all you need; the second position is there for two-strand tufting later. Your first piece runs on the Craftphilia yarn that comes in the box, matched to the starter pattern and tested on the machine.
Send the job from Studio and press start. The machine follows the path, and the spacing of the rows is the setting you chose in Studio — not something you hold steady by hand.
When one color is finished, the machine stops and waits. Put on the next yarn, press resume, and it picks up at the exact point it left. Each change takes under a minute, so a five-color design costs you four short breaks. A broken or tangled yarn is caught the same way: the machine pauses until you sort it out. The rest of the time it runs without you, and a whole piece usually takes one to five hours, depending on its size, how many colors it has and how complex the pattern is.
Step 4: Glue the back while it's still on the frame
Lift the frame off the machine with the cloth still on it and turn it over. Check the whole piece, front and back, before any glue goes on. A loose stitch comes out cleanly now. Once the glue cures, pulling one drags the rows around it.
The glue goes on while the cloth is still stretched, because that tension is what keeps the rug flat as it sets. Push it into the base of the yarn rather than leaving it on the surface, and take it 1–2 inches past the design into the margin. One thin, thorough coat is enough.
Then leave it to cure. Air-dried, that's usually a full day. The cost of rushing this shows up late: an under-cured rug looks fine coming off the frame and starts shedding months into use. What rug finishing involves goes deeper into glue choice and drying.
Step 5: Cut off, hem and add the backing
When the glue has fully cured, cut the piece out of the frame with 1–2 inches of cloth left all around. Fold that strip to the back and fix it with hot glue. On curves, notch it every 2 inches or so; at the corners, fold instead of cutting. A rug with an irregular outline needs more care at the edge — how to tuft a shaped piece covers it.
A floor rug then gets its backing: spray adhesive on both surfaces, lay the fabric on and press it down from the middle outward. The backing hides the glue layer, and on a hard floor it's what keeps the rug from sliding — which is why Craftphilia Backing Cloth is non-slip. A wall piece can skip it and go onto a board or over a stretcher frame instead.
Step 6: Shear and carve
Shearing waits for the glue, because a blade pulls unglued tufts straight out. It doesn't have to wait for the backing: if you'd rather shear first, do it right after curing, with the piece still on the frame and the cloth under tension. The pile comes off the machine at about 16 mm (about 5/8 inch), so there's room to bring it down.
Work in two passes. First, run the trimmer flat over the whole rug to get one even height. Then go back with scissors for outlines and tight corners, taking a little at a time.
Where two colors meet, tilt the trimmer to about 45 degrees and cut a shallow V along the line. The shadow in that groove is what makes the edge read as clean. How to carve clean edges covers how deep to go and how to keep the line straight.
The folded hem and the backing already make a finished edge, so binding is optional; twill tape glued around the perimeter is the quick version. Vacuum off the loose fibers, and the rug is done.
How long a first rug takes
| Stage | Small rug |
|---|---|
| Machine tufting | 1–5 hours, running on its own between color changes |
| Glue | 15–30 minutes |
| Curing (air-dried) | About 24 hours |
| Cutting, hemming, backing | 30–60 minutes |
| Shearing and carving | 1–2 hours |
Design isn't on the clock: it takes as long as your decisions do, and nothing gets tufted until the preview looks right. Curing sits in the middle of everything else, so plan around it.
If you're deciding whether this is the route for you, the complete guide to automated tufting machines covers what the machine handles and how to choose between the CF05 and CF07. The machine takes the middle of the job. The two ends are where the rug becomes yours.
Frequently asked questions
What size should my first rug be?
Around 12–16 inches. A piece that size takes you through every step a large rug does, in a fraction of the hours and yarn. It's also small enough to show you where detail starts to break down — worth knowing before you design something bigger.
How big a rug can the machine make?
Up to 19.7 × 19.7 inches (50 × 50 cm) on the CF05 and 27.6 × 27.6 inches (70 × 70 cm) on the CF07. The optional Expansion Kit extends that to 19.7 × 39.4 inches (50 × 100 cm) and 27.6 × 55.1 inches (70 × 140 cm).
How many colors can one rug use?
There's no limit. Each extra color adds one pause to change the yarn, so more colors mean more stops, not a harder job.
Can I skip the glue?
No. Without it, the yarn is held in the cloth by friction alone, and a rug that gets walked on starts losing tufts quickly. Wall pieces need glue too — they can use PVA instead of latex.
Can I tuft with two strands of yarn?
Yes. The Dual Yarn Tray that comes with the machine holds two cones, so you can run two strands of a thinner yarn for a fuller pile, or two colors for a blended tone. For a first piece, one strand keeps things simple.
Share:
Can You Tuft on Any Fabric? Tufting Cloth vs Monk’s Cloth vs Burlap
How to Tuft a Rug That Survives Cats and Dogs